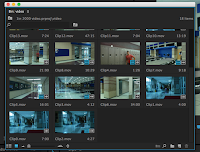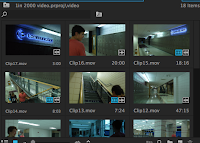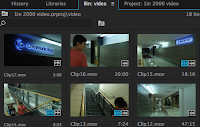
 Here is an example of me using those bins for creating my video. You can create more bins than I did but I only really needed to do 2. The way you create bins is a little button that looks like a folder at the bottom of the project panel.
In order to open a bin, simply double click the bin file and it will open. If you want to delete a bin there is a second button that looks like a trash can that will delete any bin you have selected.
Something else that you may want to keep in mind is that you can rename certain clips. IN order to do this all you need to do is select the clip you want to rename in the project panel and choose Clip > rename, type in whatever you want to call it and press enter or return depending on what system you are using.
 Now depending on what your preference is you may want to change the way you view your bins. there are a few different ways to do this one of them being that if you double click the bin it will open in it is own floating panel
If you want to open a bin in place, just click Ctrl-double-click or Command double click the bin.
 Finally if you want to open a new tab with your bin just click Alt-Double-click or option-double-click.